Purpose
Instead of using my Computer I want to utilize a Raspberry Pi 3 to overwrite HDDs with zeros.
Things needed
We need a Raspberry Pi. Every version should do, I used version 3. We need a micro SD Card with 8GB or more capacity.
Downloading stuff
Download Raspberry PI Imager. Download Raspbian OS Lite.
Prepare SD Card
We use Raspberry PI Imager to write the Raspbian OS Lite to the micro SD Card. First we select the Image, which we downloaded beforehand. We select the micro SD Card. Make sure its the correct one. The selected Device will be formatted.
Raspberry Pi Imager has an advanced tab. In here we will enable SSH and wireless LAN.
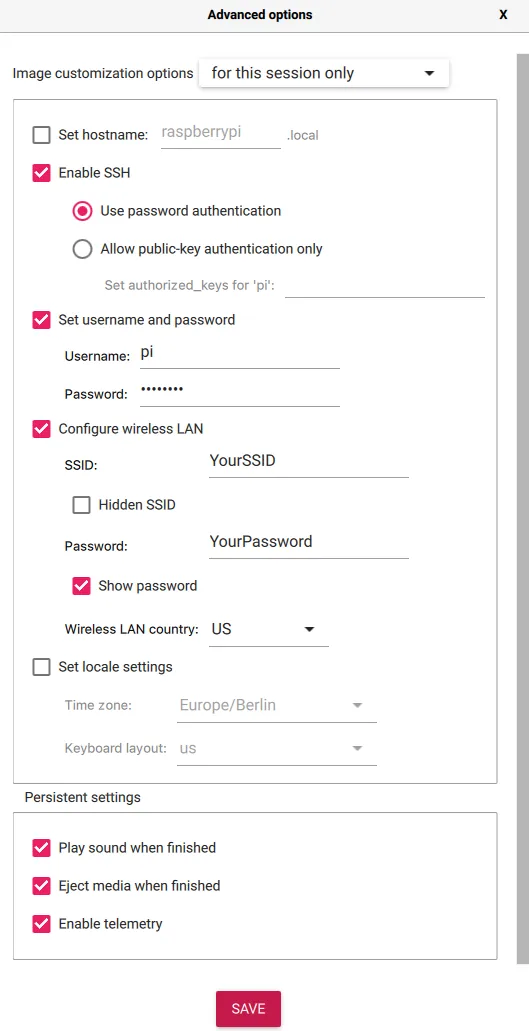 Then we click SAVE.
Now we can press WRITE. This will take some time.
Setup the Raspberry Pi
After everything is finished and the micro SD card is unmounted, we insert it into the Raspberry Pi. If you don’t use WiFi, connect a LAN cable, then connect to power. Now we wait again.
Once your Raspberry Pi is up and running and you found your IP we can connect to it over SSH. Let us do so.
ssh yourUsername@IP
We accept the Fingerprint. We enter the password configured in the Imager Tool.
Update and Upgrade System
We are in. Time to update and upgrade.
sudo apt-get update
sudo apt-get upgrade
Then we install Smartmontools and Screen. The first will let us run S.M.A.R.T. tests. The second lets us create virtual terminals. With this we can detach from a virtual session and close the terminal without the process being killed.
sudo apt-get install smartmontools
sudo apt-get install screen
Overwrite HDDs
Let us connect the HDDs to the Raspberry Pi.
lsblk
You should see your external HDD as /dev/sdX, where X is your specific device letter.
Start a screen session.
screen -X zero-sdX
Start overwrite with zero.
sudo dd if=/dev/zero of=/dev/sdX status=progress
You can now exit the virtual terminal session. Press ctrl+a, ctrl+d.
To reconnect to a session you write
session -r zero-sdX
Repeat this process for all external HDDs connected to the Raspberry Pi.
S.M.A.R.T. Test
Once the overwrite finishes, one could use smartmontools to execute a S.M.A.R.T. test.
I personally am doing a short test only.
sudo smartctl -t short /dev/sdX
Shortfalls
Depending on the type of HDD one tries to fill with zeros, this process takes a lot of time. WD RED SMR based HDDs are painfully slow. Peaking at 5MBs, one can imagine how long it takes to overwrite a 6TB drive. Yes, 14 (fourteen) Days…
I encountered a problem with multiple HDDs on my Raspberry Pi 3. It seems more than one HDD would end in endless reboot of the external devices, even though they had their own power supply.
Conclusion
A low power alternative to fill HDDs with zeros. Multiple HDDs don’t seem to work. Depending on the type of HDD technology the process can be really slow.
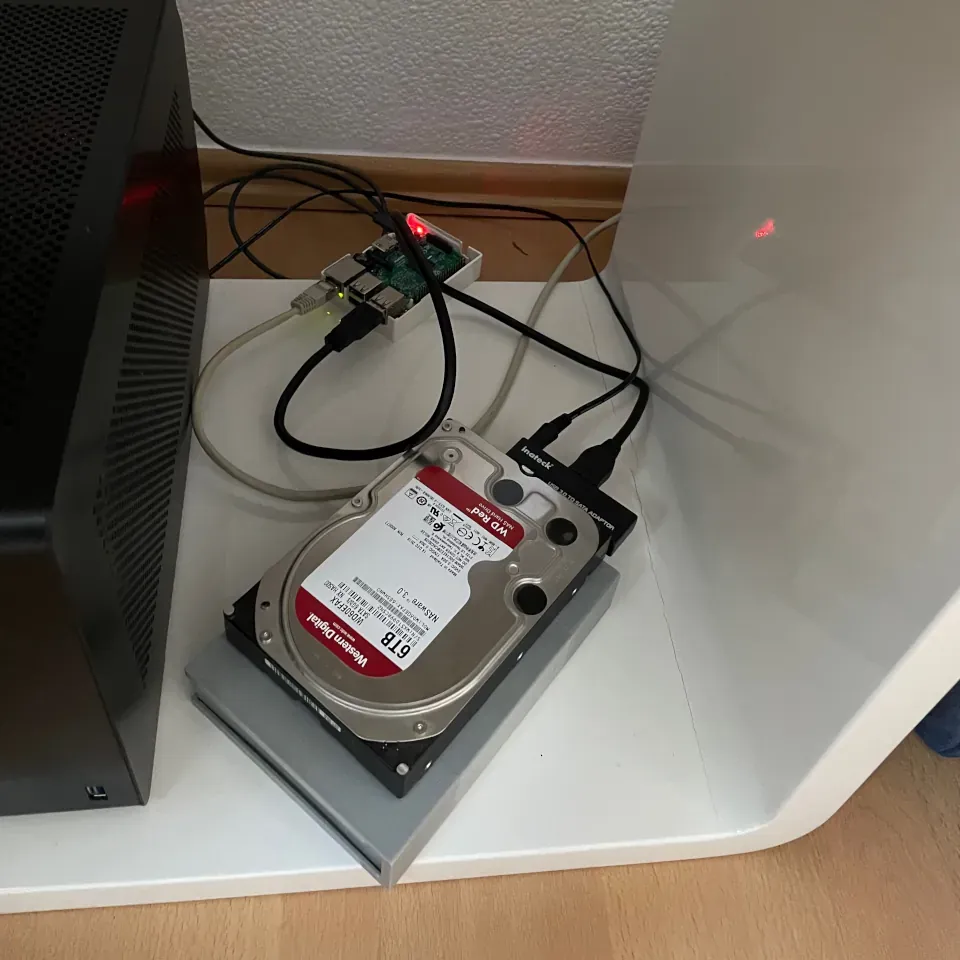
At Last, a picture of my overwriting setup.